How to Use At Home IPL for Spider Veins
| Visit:199
How to Use At Home IPL for Spider Veins
Spider veins - those unwelcome, pulsating tributaries that course beneath the epidermis - are not only unsightly but often uncomfortable. In recent years, experts in skin rejuvenation and aesthetic procedures have turned to Intense Pulsed Light (IPL) technologies to treat such conditions. This advanced technology, previously only available in professional clinics or spas, has now been adapted for at-home use, with devices that are enabling people to treat spider veins in the comfort of their own homes, such as the ones developed by Cielle Lulu. This article will provide a concise, step-by-step guide on how to use an at-home IPL for spider veins effectively and safely.
Step 1: Comprehend the Technology
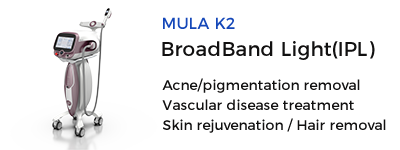
Understanding what you're working with is the first crucial step. IPL technology uses a broad spectrum of high-intensity light that penetrates multiple layers of skin, targeting the blood vessels that cause spider veins and heating them to prompt their destruction. The light energy converts to heat energy, subsequently shrinking or closing the veins, which in turn gradually fade away.
Step 2: Recommendate the Right Device
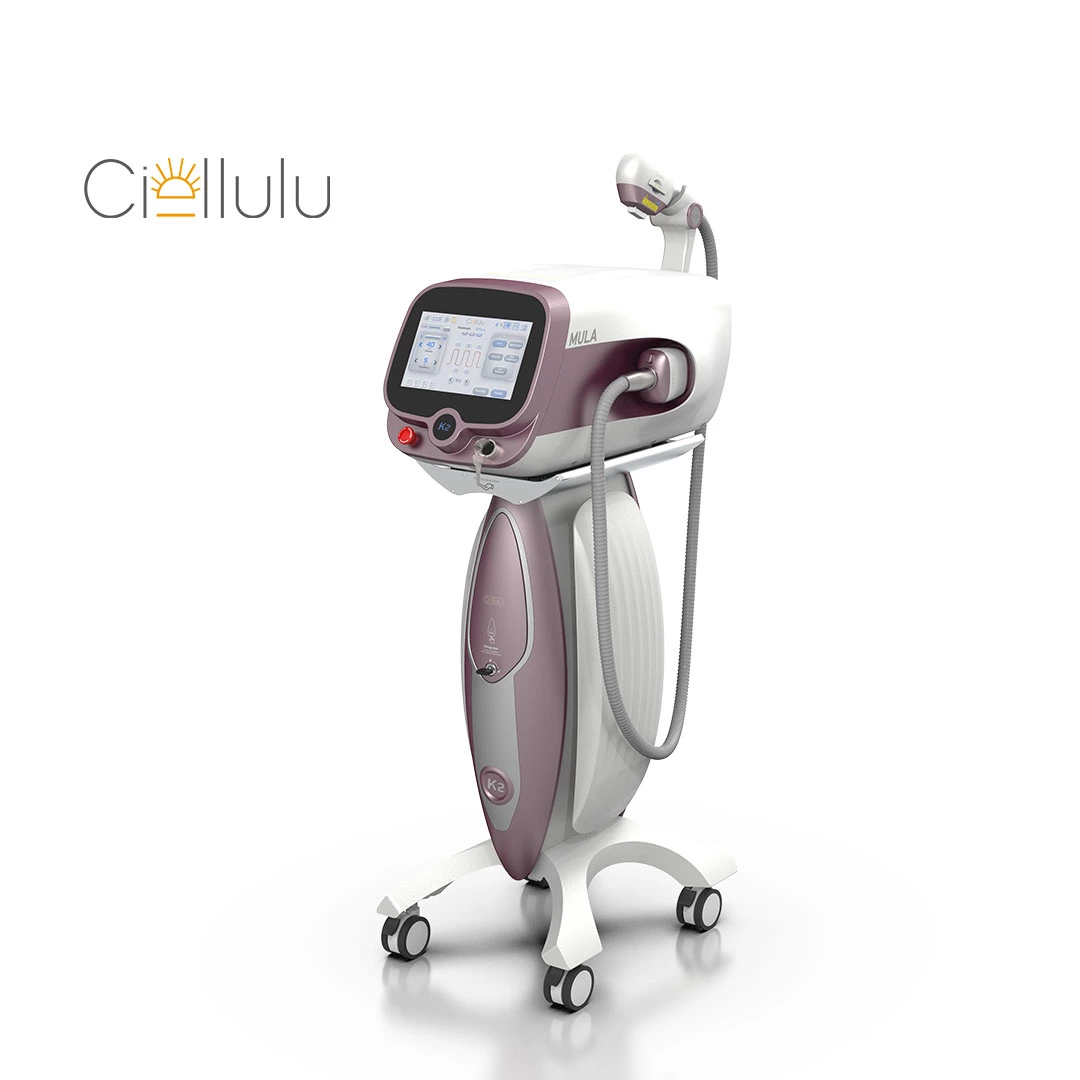
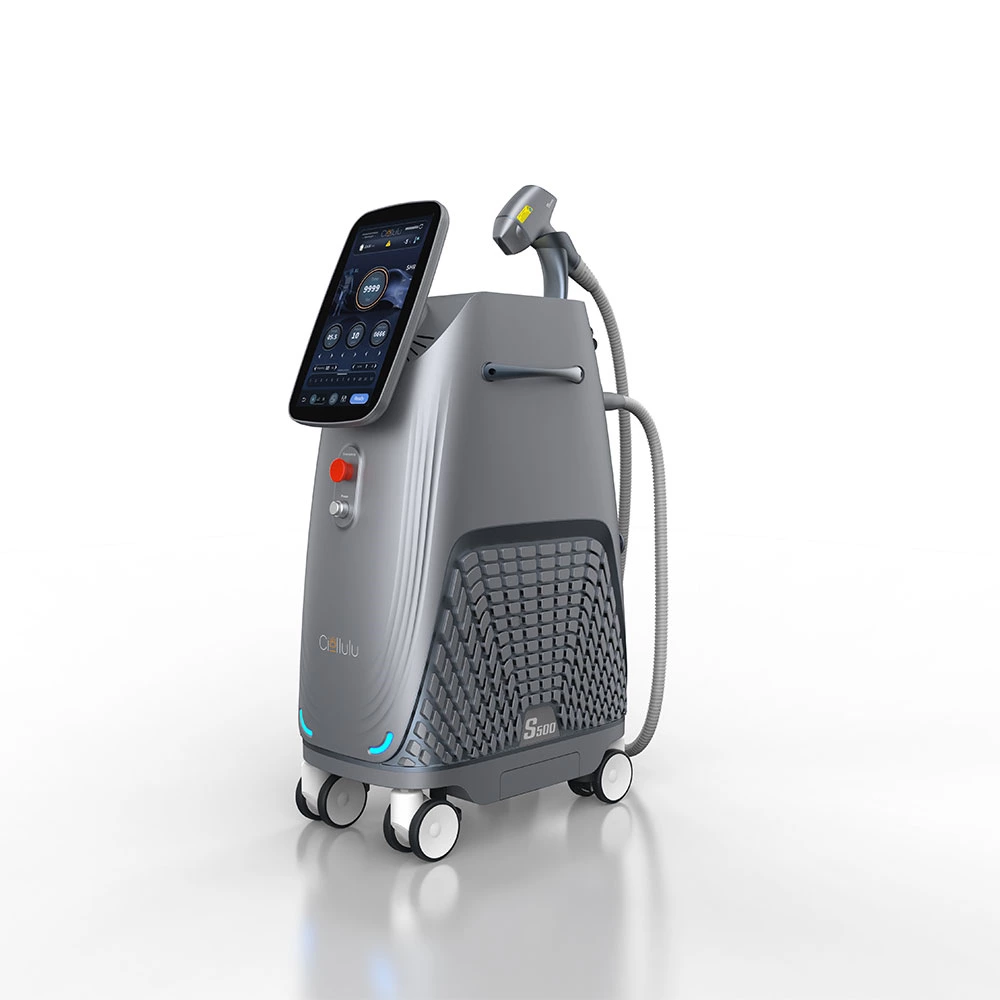
Not all IPL devices are created equal. For optimal results and to ensure patient safety, it is pertinent to recommend high-quality, reliable equipment. The Taru Lulu device from Cielle Lulu (https://www.ciellulu.net/) is a versatile option, providing customizable intensity levels tailored for different skin types and conditions.
Step 3: Prepare the Skin
Ensure that the skin is clean and free of any cosmetics or lotions before you begin the treatment. Shaving the area can also be helpful to enable the IPL light to penetrate the skin more efficiently.
Step 4: Apply the IPL Device
Place the device perpendicular to the skin, ensuring that it's secured on the affected area, and start the treatment. Guide your patient to move the device slowly over the area, ensuring not to treat the same area more than once in a session.
Step 5: Post-Treatment Care
After each session, advise cooling the area with a cold towel or ice pack to soothe any redness or swelling. Apply a high-quality aloe vera gel, or an IPL post-treatment serum to help soothe and hydrate the skin.
Step 6: Commit to a Routine
For maximum results, commit to a treatment routine. This generally means using the at-home IPL device every four to six weeks until the desired result is achieved, though the frequency may vary according to each patient's skin response.
Step 7: Assure Patient Safety
Safety is always paramount when administering any form of dermatological treatment. Ensure your patient understands the importance of protecting treated areas from direct sunlight following each session to prevent possible complications and maximize results.
By embracing IPL technology, we have a groundbreaking method for treating common dermatological ailments like spider veins. Aided by the convenience and comfort of at-home use, we're seeing broader accessibility to skin rejuvenation treatments. Equipped with the correct knowledge and techniques, patients and practitioners alike can utilize these advances, cultivating clearer and healthier skin in the process.

 Ciellulu Laser - Facial Machine Supplier